MELLOW VINTAGE
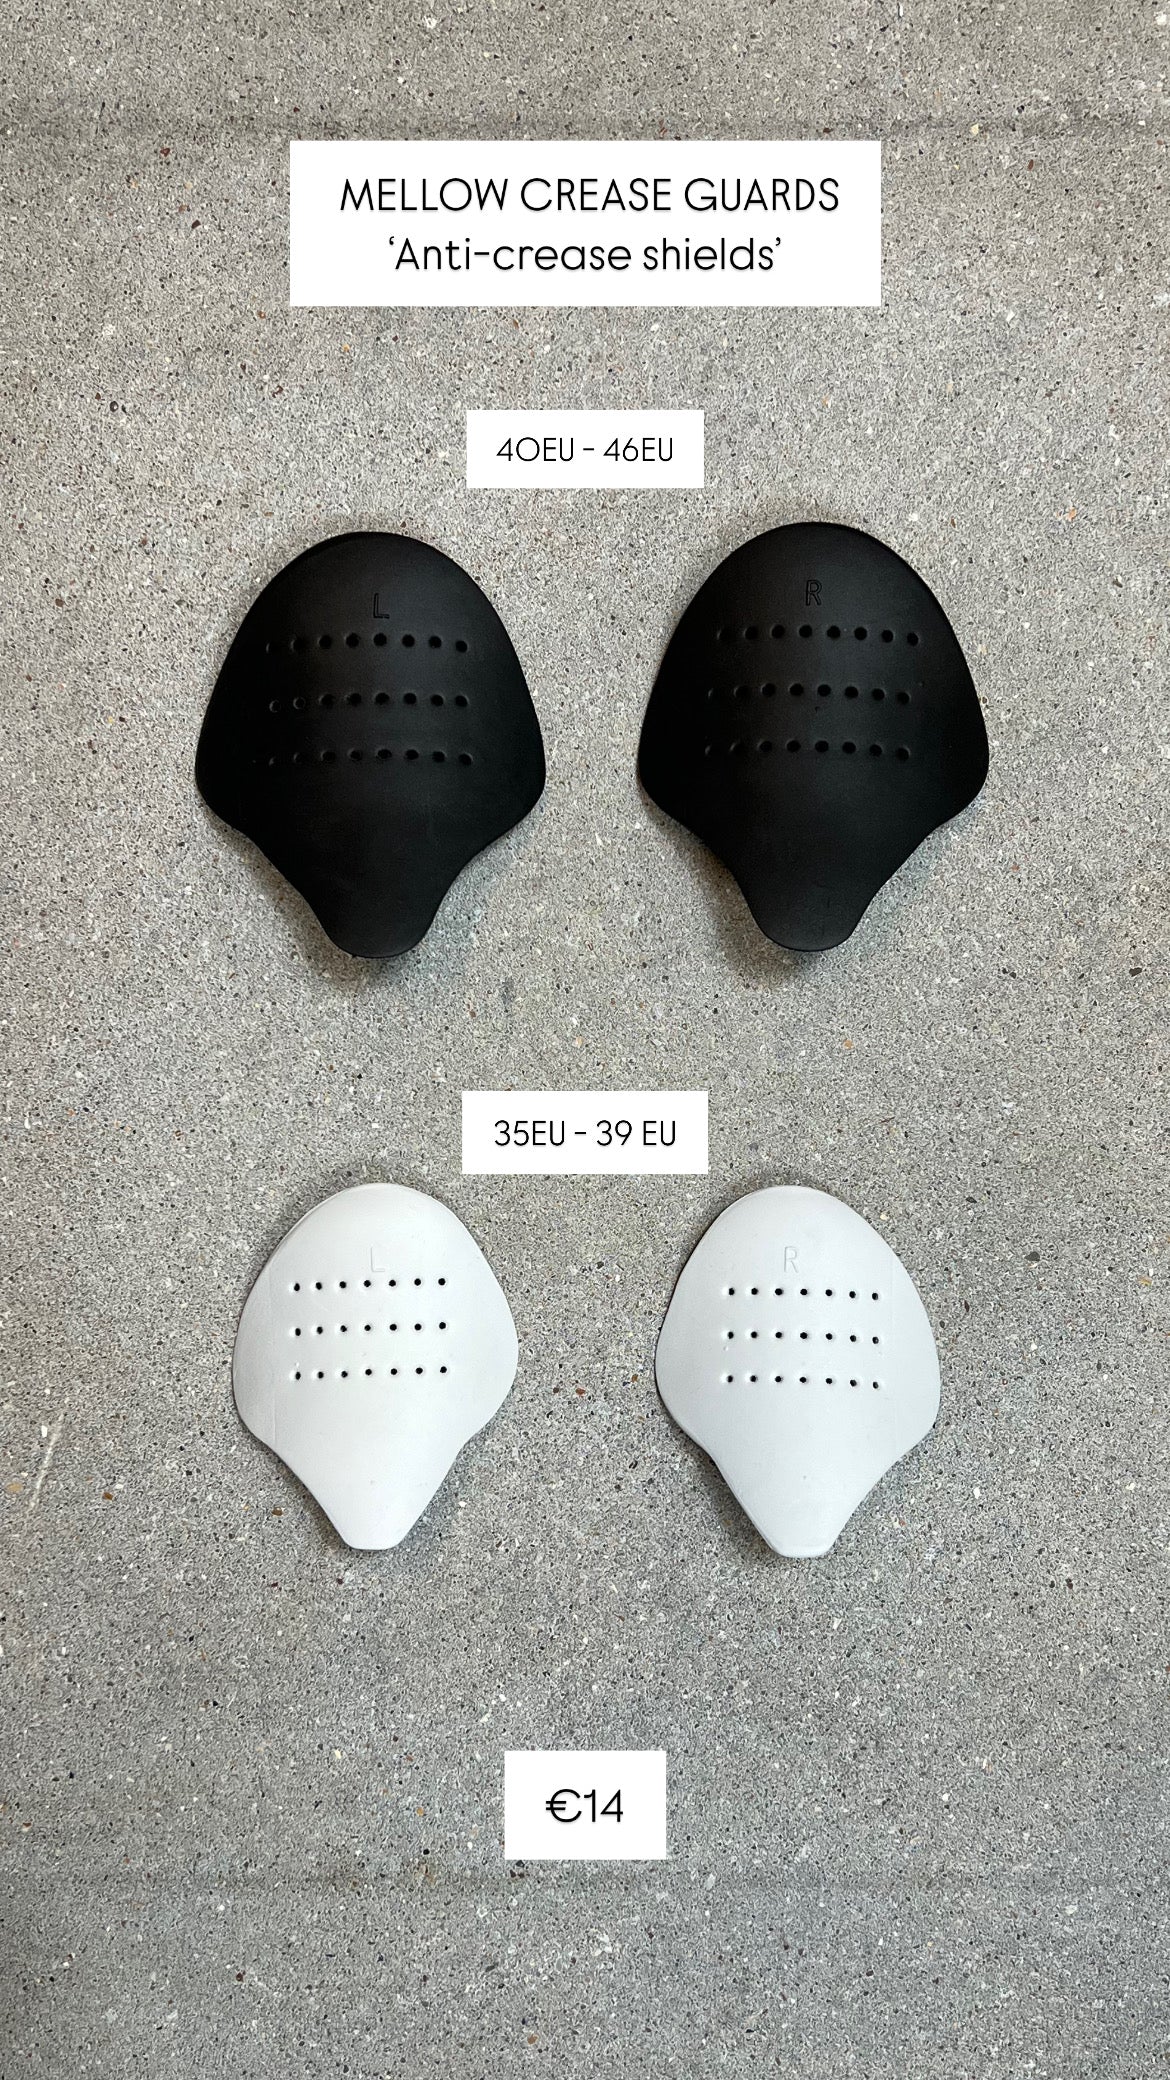
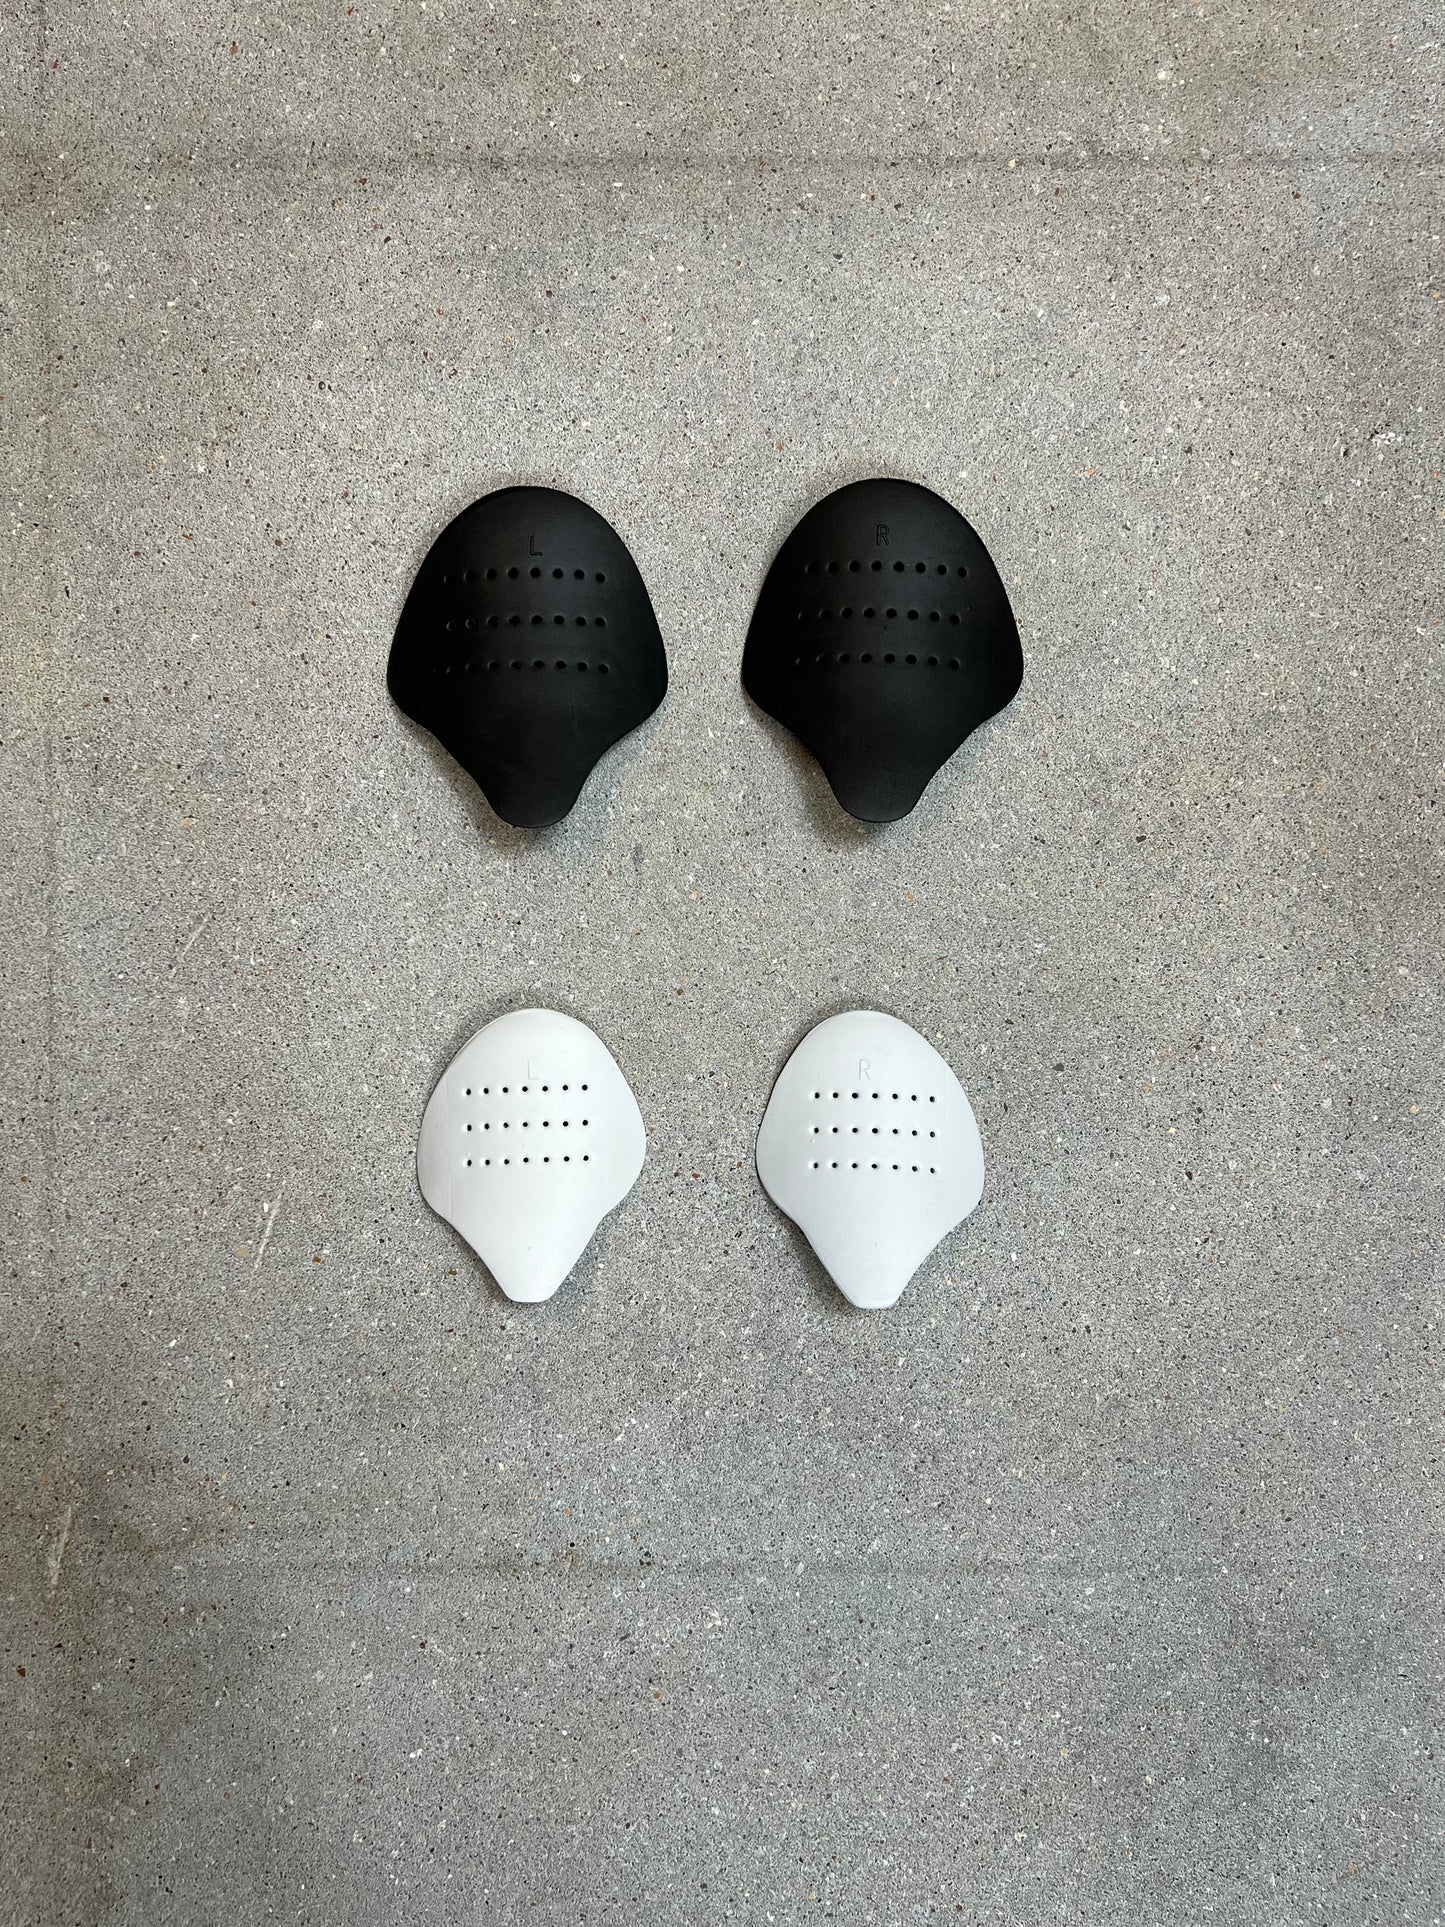
MELLOW ANTI CREASE GUARDS / MELLOW ANTI CREASE SHIELDS
MELLOW ANTI CREASE GUARDS / MELLOW ANTI CREASE SHIELDS
Verfügbarkeit für Abholungen konnte nicht geladen werden
Schützen Sie Ihre Schuhe und halten Sie sie frisch – wählen Sie MELLOW ANTI CREASE GUARDS!
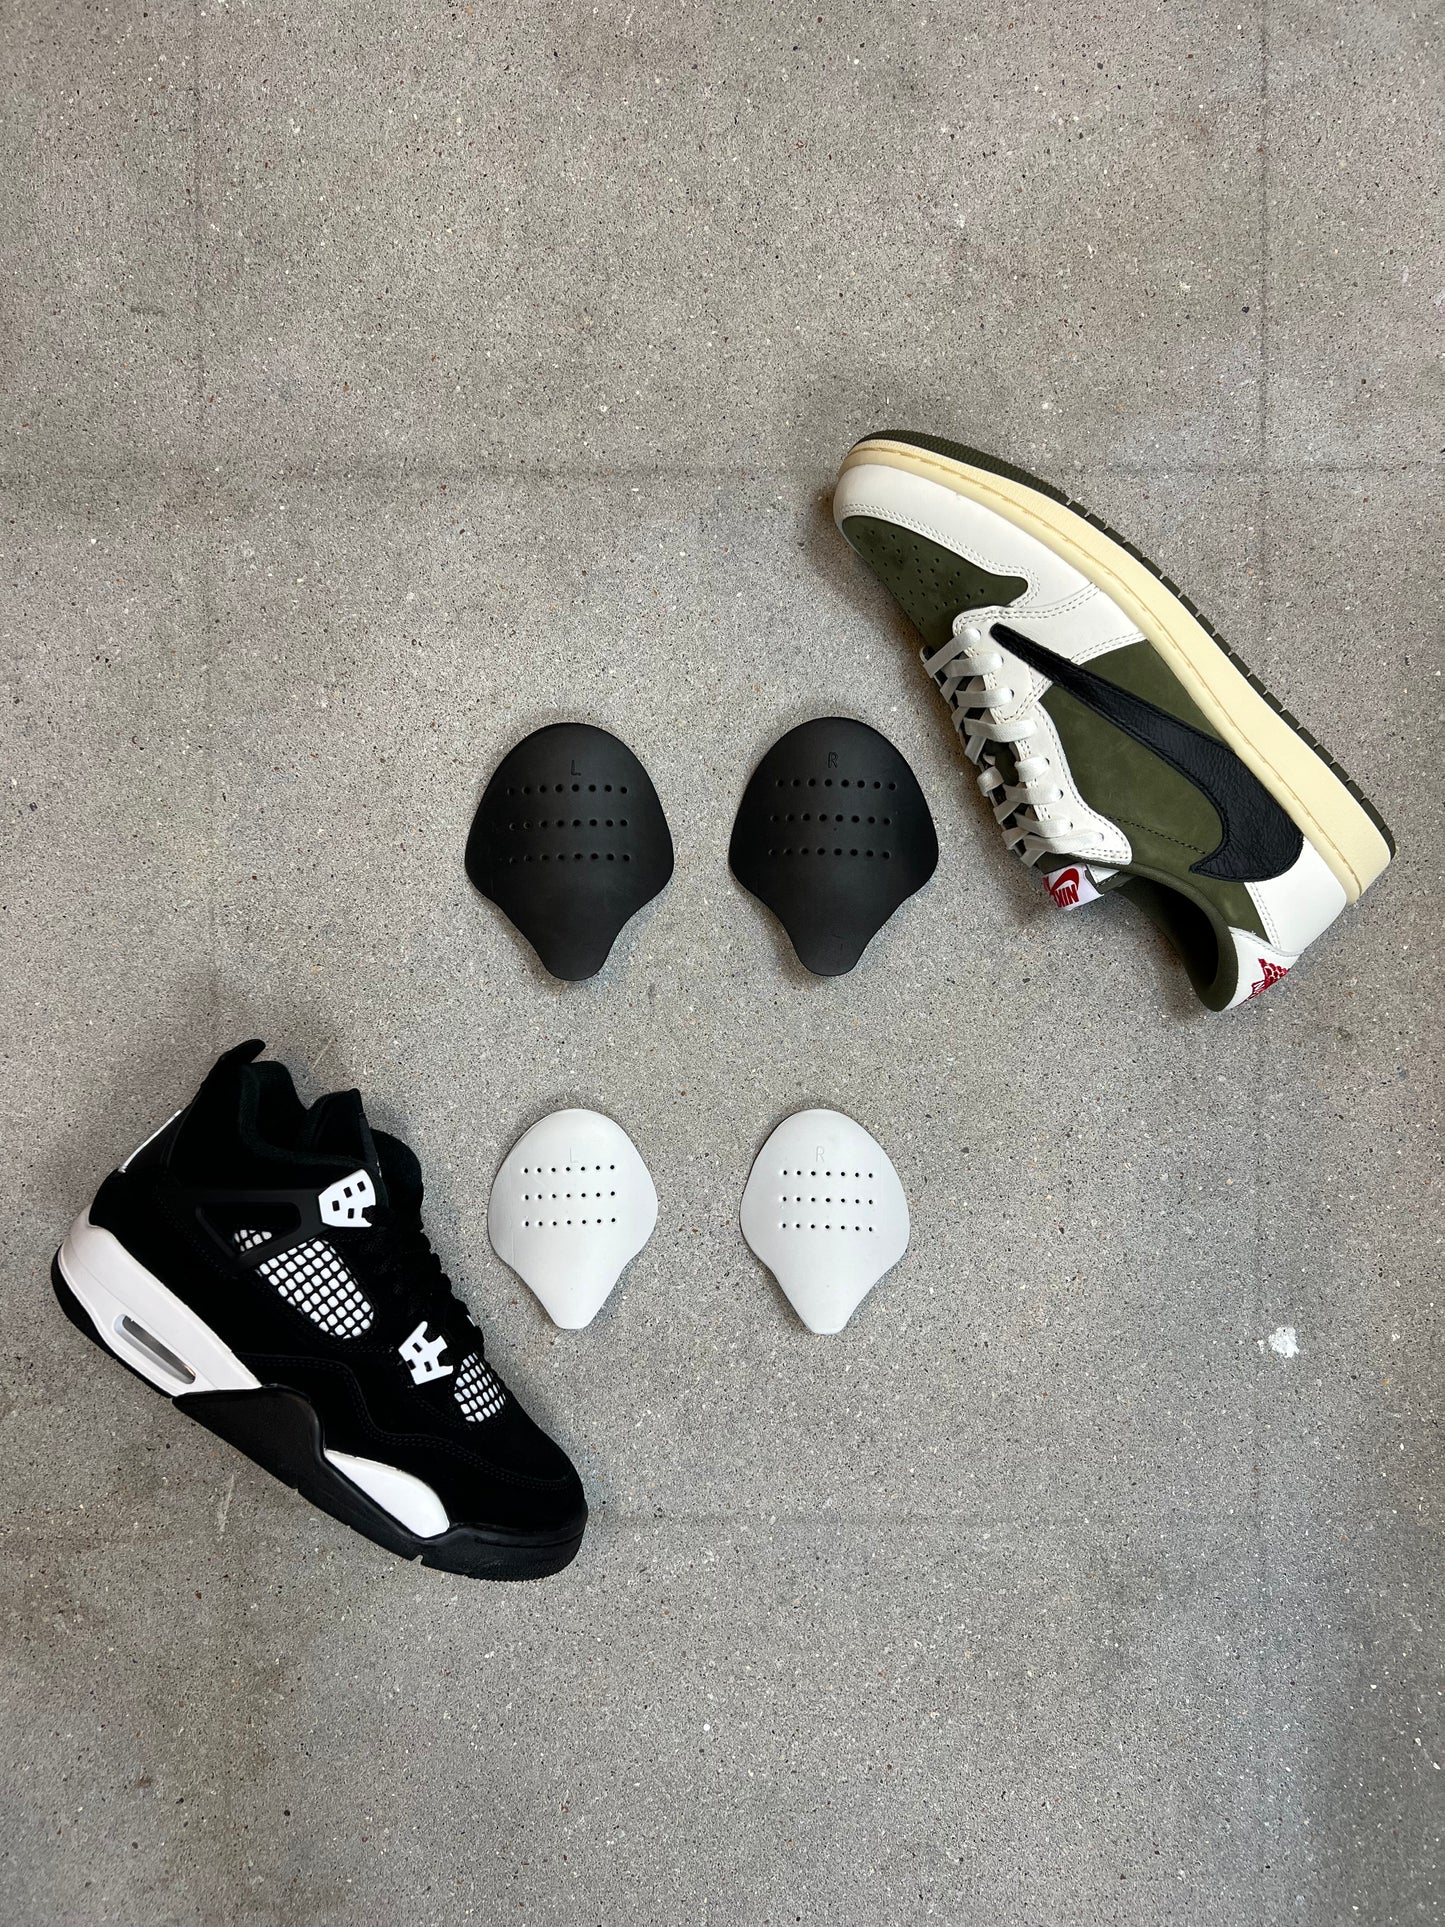
Was sind MELLOW ANTI CREASE GUARDS?
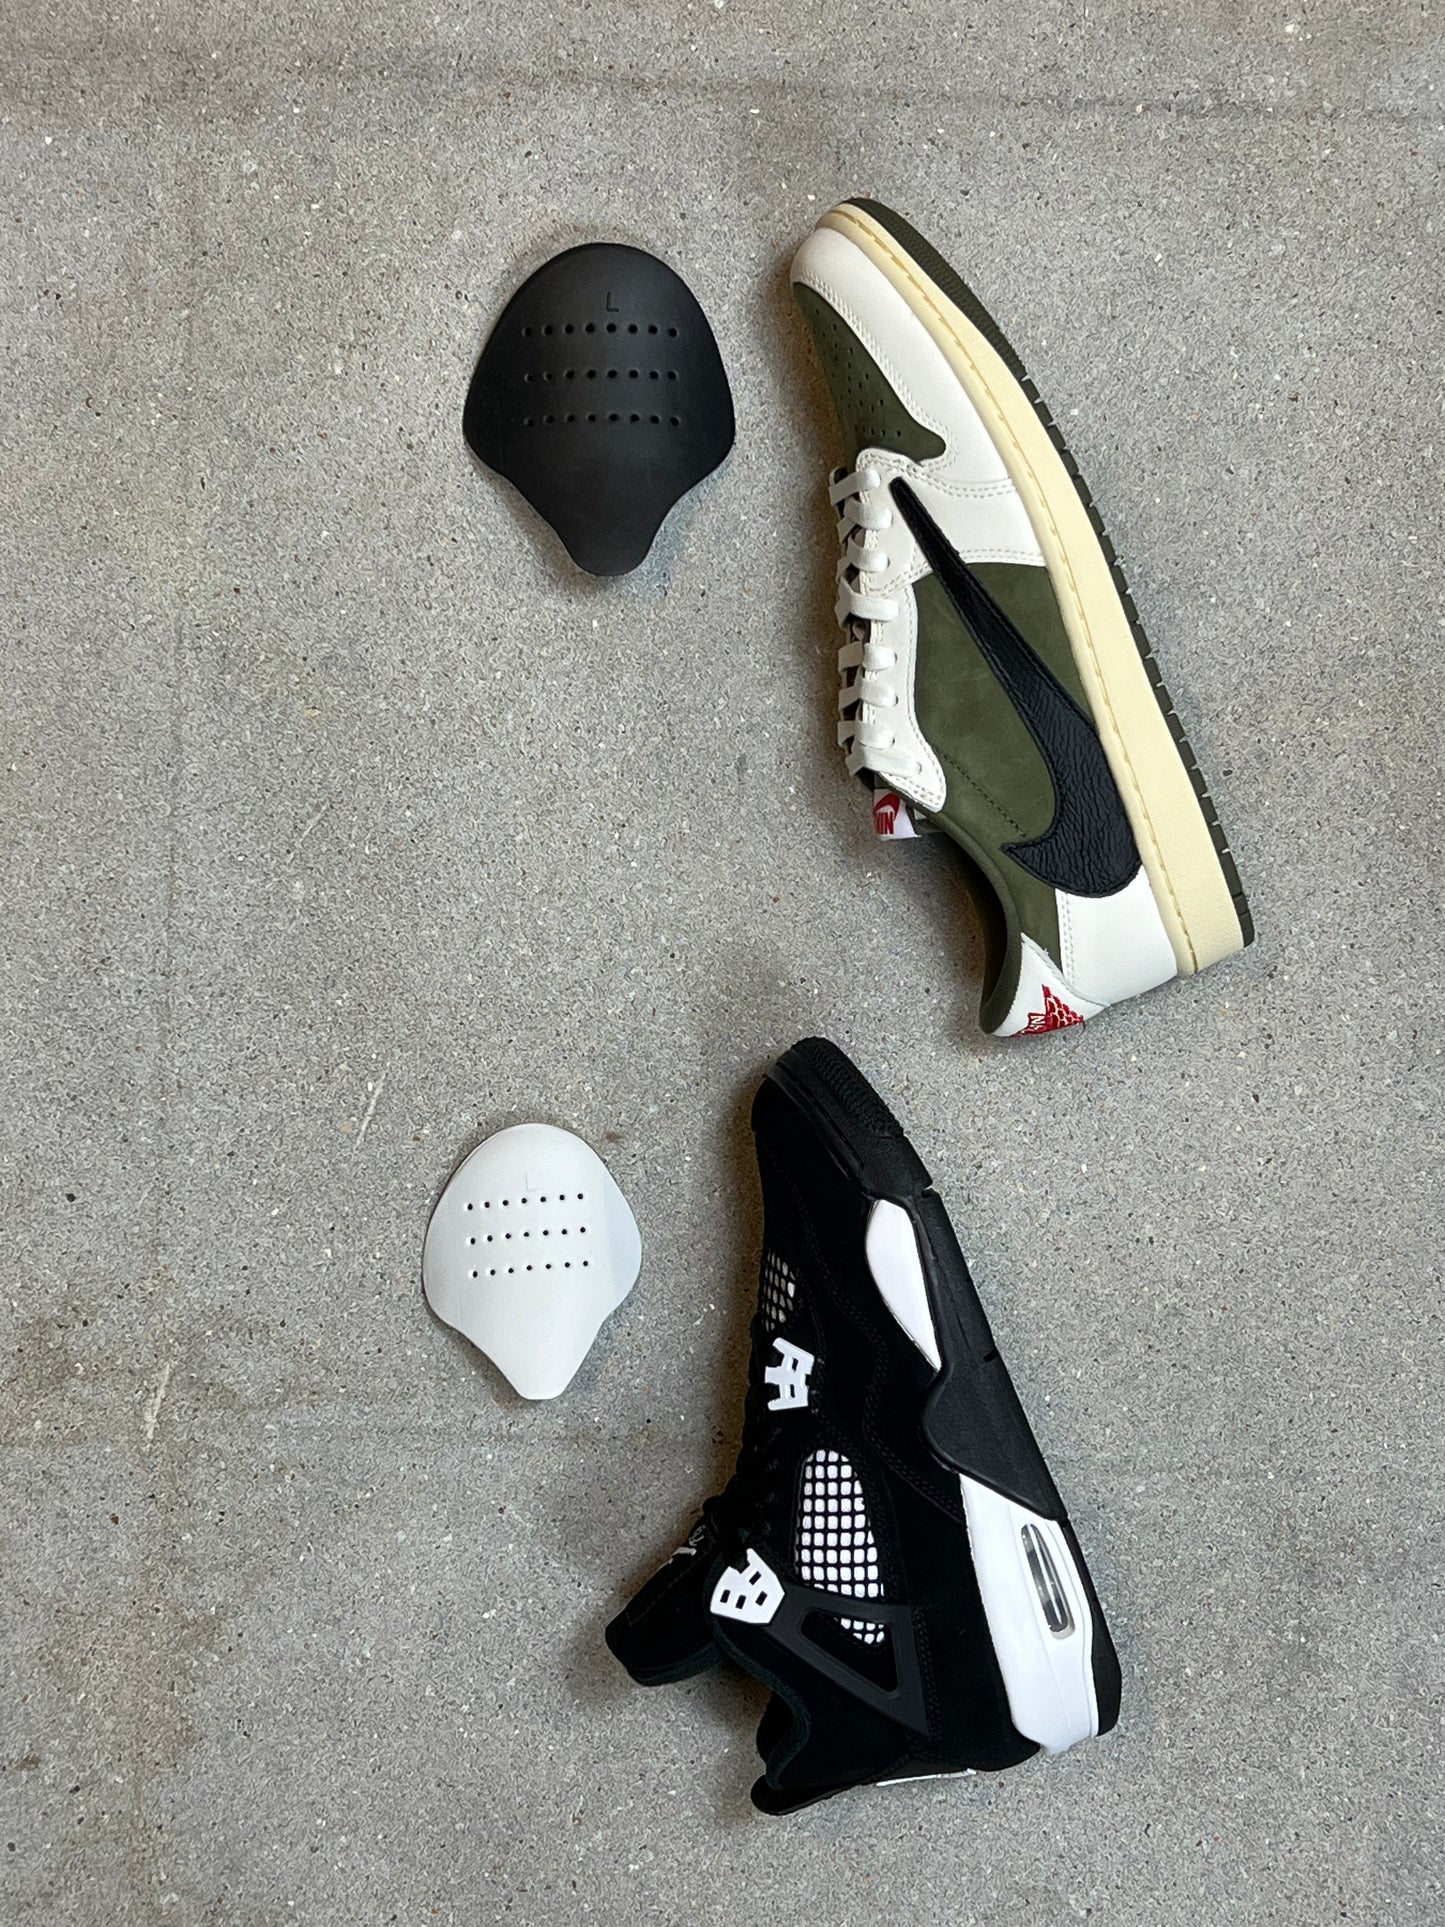
MELLOW ANTI CREASE GUARDS sind die ultimative Lösung, damit Ihre Sneaker immer wie neu aussehen! Diese Schutzvorrichtungen verhindern unschöne Falten im Zehenbereich und bieten Halt von innen, sodass Ihre Sneaker länger in Topform bleiben. Sie sind bequem, leicht und einfach zu handhaben – perfekt für Sneaker-Liebhaber, die ihre Lieblingsschuhe schützen möchten.
Anweisungen:
- Bereiten Sie den Schild vor : Nehmen Sie Ihre MELLOW ANTI CREASE GUARDS und ziehen Sie die Rückseite von den beiden mitgelieferten doppelseitigen Klebestreifen ab.
- Befestigen Sie das Klebeband : Kleben Sie einen Klebebandstreifen auf den oberen Teil jedes Schildes (in der Nähe der gewölbten Oberseite), um sicherzustellen, dass es sicher am Schuh haftet.
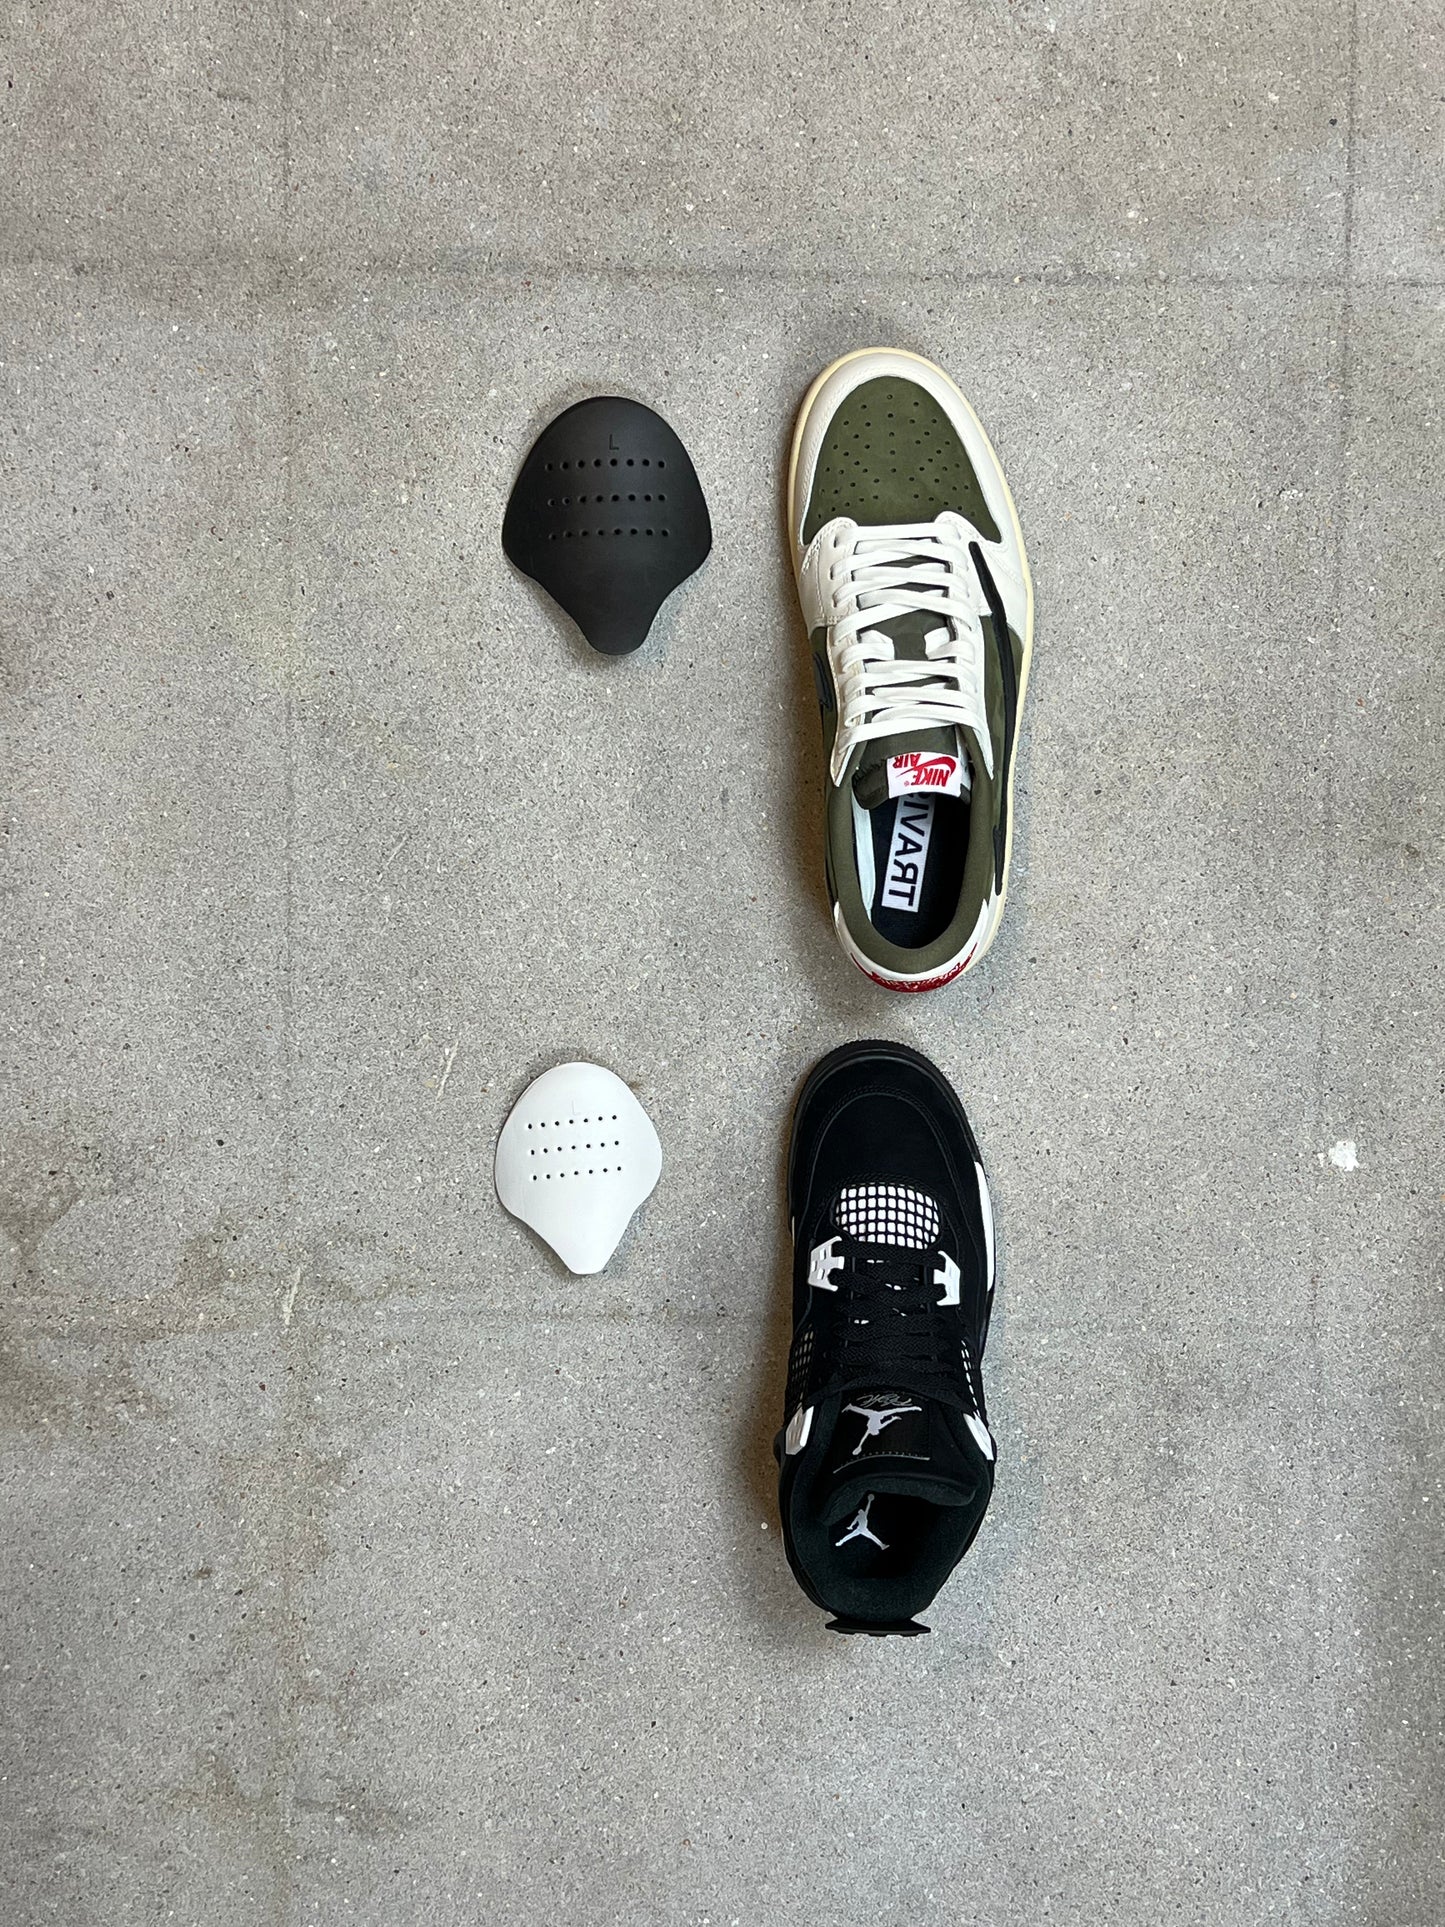
- Setzen Sie den Schutz ein : Schieben Sie den Schutz in Ihren Sneaker und positionieren Sie ihn über dem Zehenbereich. Stellen Sie sicher, dass er bequem sitzt und sich der Form des Schuhs anpasst.
- Sichern Sie den Schutz : Drücken Sie die mit Klebeband versehene Seite gegen die Innenseite des Schuhdachs (direkt unter der Zehenkappe). Dadurch bleibt der Schutz beim Tragen an Ort und Stelle.
Das war's! Ihre Sneaker sind jetzt knitterfrei und bereit für die Straße.
🇳🇱 Warum sind Mellow Anti-Crease Guards wichtig? 🇳🇱
Schützen Sie Ihre Sneaker und sorgen Sie dafür, dass sie wie neu aussehen – entscheiden Sie sich für MELLOW ANTI-CREASE GUARDS!
MELLOW ANTI-CREASE GUARDS sorgen dafür, dass Ihre Sneaker wie neu aussehen. Sie verhindern Faltenbildung im Zehenbereich durch internen Halt. Ideal für Sneaker-Fans, die ihre Schuhe in Topform halten wollen! Sie sind bequem, leicht und unglaublich einfach zu verwenden.
Anleitung ( 🇳🇱 ):
- Bereiten Sie den Schutz vor : Nehmen Sie Ihre MELLOW ANTI CREASE GUARDS und ziehen Sie die Schutzschicht von den beiden mitgelieferten doppelseitigen Klebestreifen ab.
- Befestigen Sie die Klebestreifen : Kleben Sie einen Streifen auf die Oberseite jedes Schildes (in der Nähe des gebogenen Teils), um sie sicher im Schuh zu befestigen.
- Setzen Sie den Schild ein : Schieben Sie den Schild in Ihren Sneaker und positionieren Sie ihn über der Zehenkappe. Stellen Sie sicher, dass er bequem sitzt und der Form Ihres Schuhs folgt.
- Befestigen Sie den Schild : Drücken Sie die mit Klebeband versehene Seite gegen das Dach des Schuhs (direkt unter der Zehenbox). Dadurch bleibt der Schild beim Tragen an Ort und Stelle.
Fertig! Ihre Sneaker sind jetzt knitterfrei und bereit zum Tragen.